How to design a website in 5 steps
The portfolio website is one of the most important assets for a designer. Without it, it can be tough to find your next job or client.
The temptation is high to redesign it every few months to keep it fresh, especially if you’re a fairly new designer. But rather than chase trends, follow these 5 steps to make sure your redesign has a purpose and brings you closer to your goals.
1. The planning stage
Believe it or not, you don’t start with design. The first step is to plan out your website content but first, ask yourself this one question:
What are your goals for this website?
The answer to this question will dictate the content you include as well as the design of the website.
Create a sitemap
Start with the end in mind. If your goal is to get a new job then you’ll need to navigate the user to your portfolio. You’ll also want to include an about page so they can learn more about why they should hire you, and a contact page to reach out to you. Sketch out a sitemap including these key webpages
You may want to link one page to another. In this example, I link to both portfolio and contact pages on the about webpage.

Create a sitemap
Make a list of everything
Take time to list every little thing you want to include on your site. Do you want to include a section linking to Instagram or Behance? Do you want to include a blog? Maybe you have links to articles you’ve written elsewhere. Write it all down. You might not end up including everything but it’s better to have the list first and eliminate it later.
2. Explore various creative directions
You’re the art director of your website, you set the visual tone. Start to research other websites in line with your goal. Gather photos, illustrations, typography, any design you find inspiring. These will help you determine the visual direction of your site
Create several moodboards (not just one)
After you’ve gathered a few dozen images, use your preferred design software to divide them into themes.
I love to use Adobe XD to create moodboards. Since this phase of the design process is about speed and getting ideas out quickly, I find myself spending too much creating perfect layouts if I use any of the other Adobe programs. Adobe XD makes it super easy to drag and drop images and overall has a good user experience.
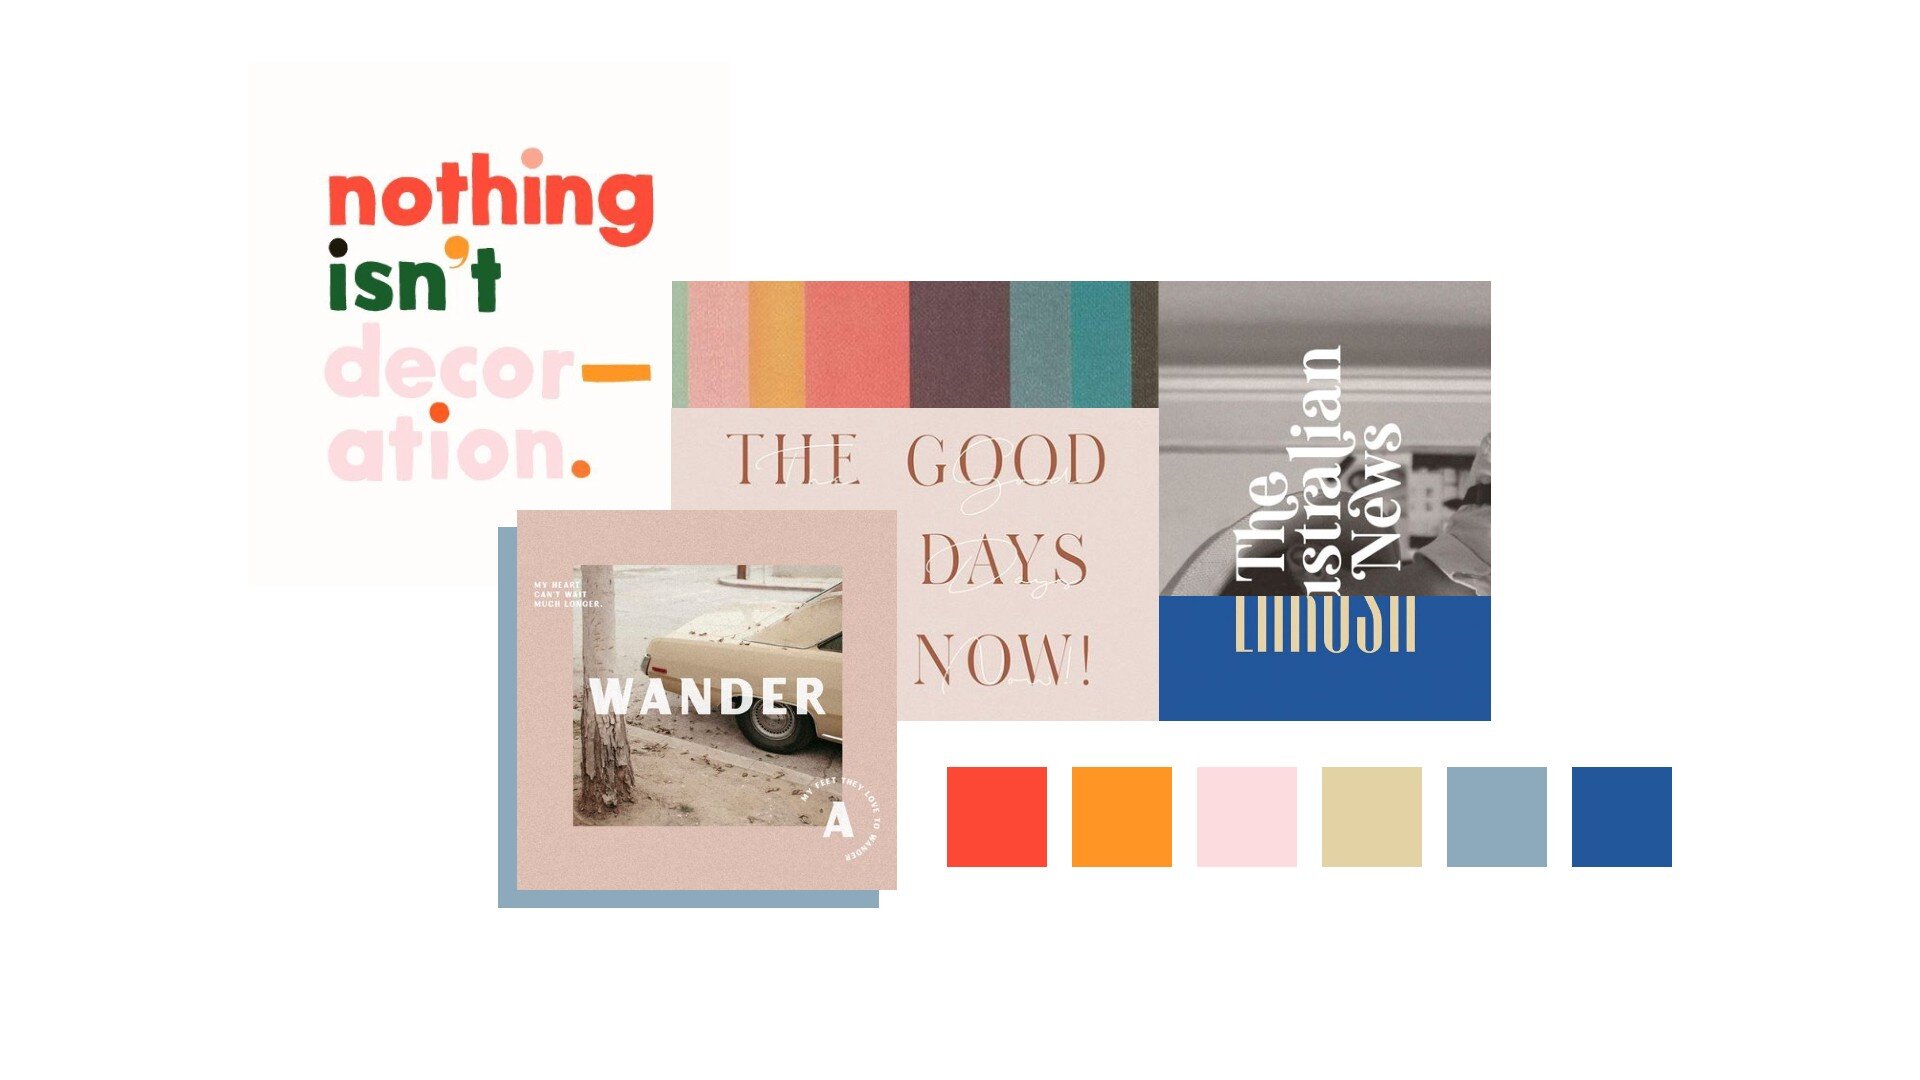
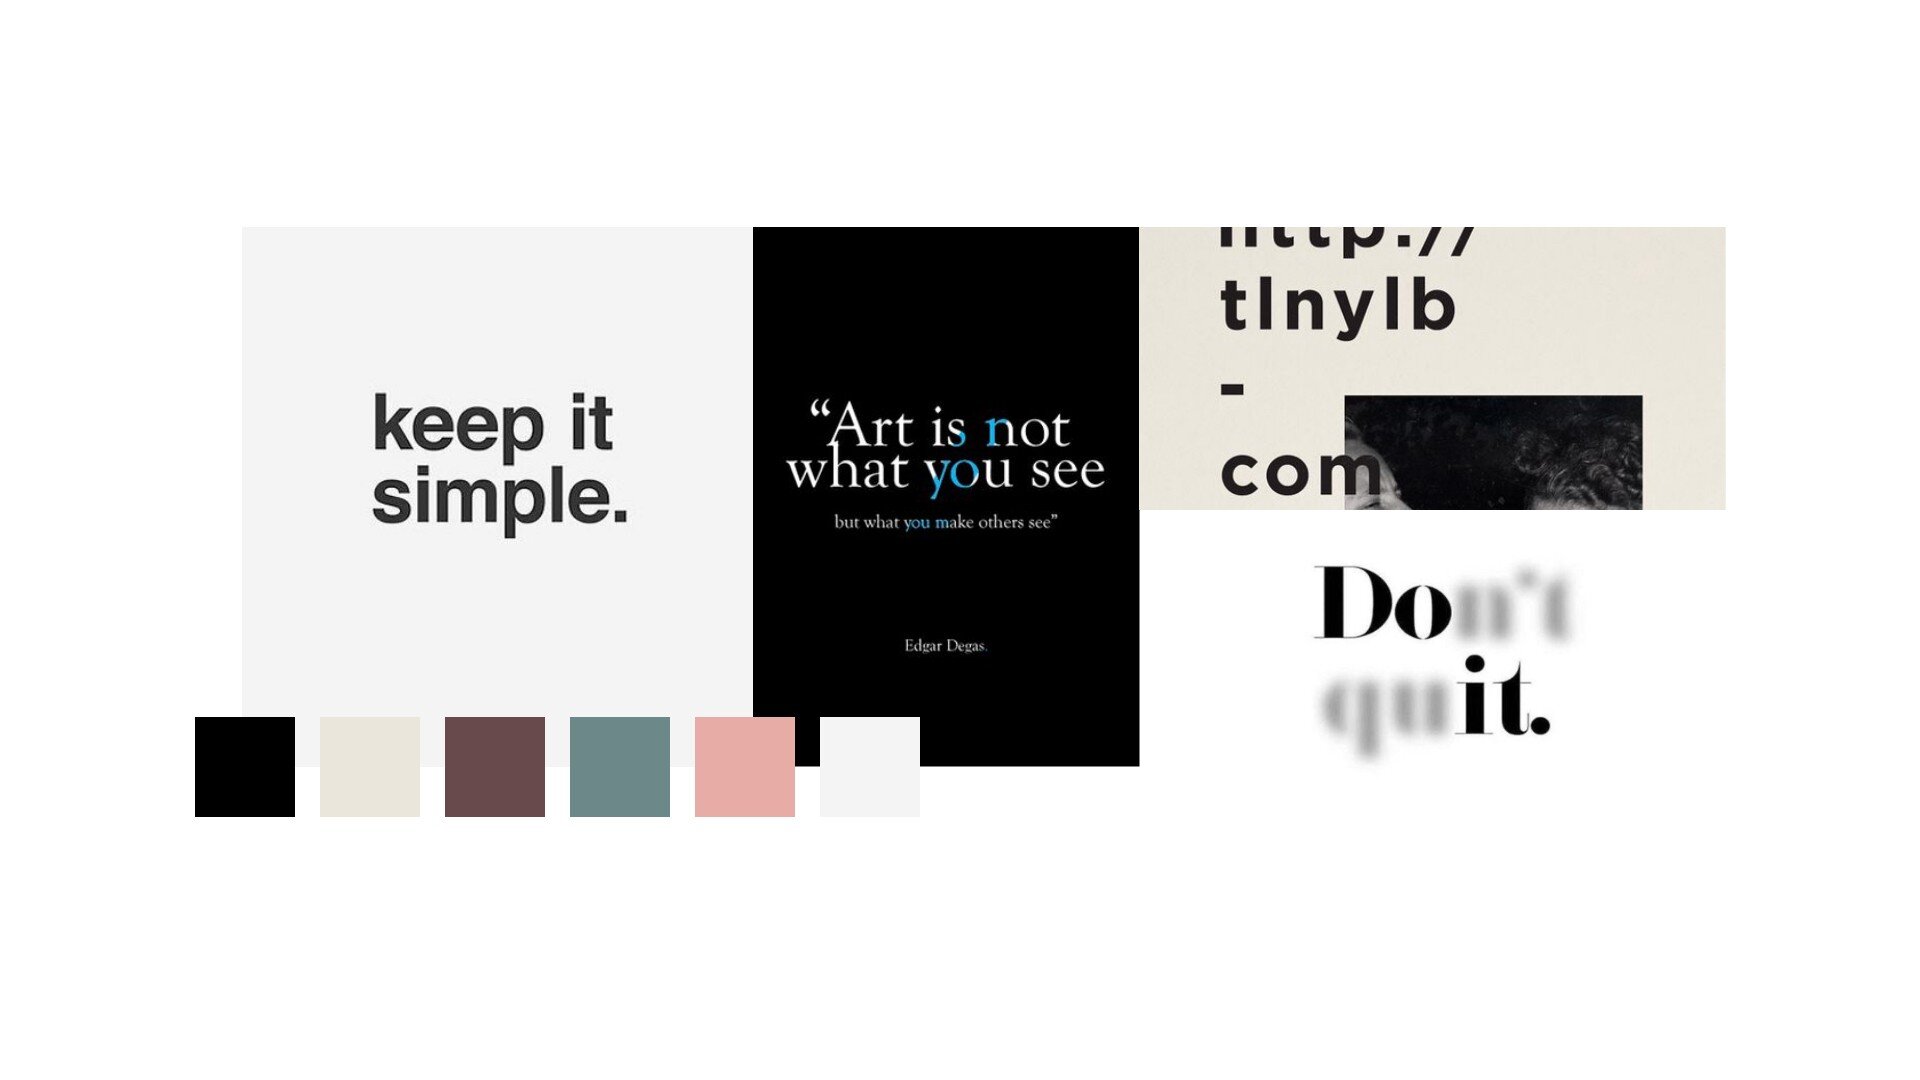
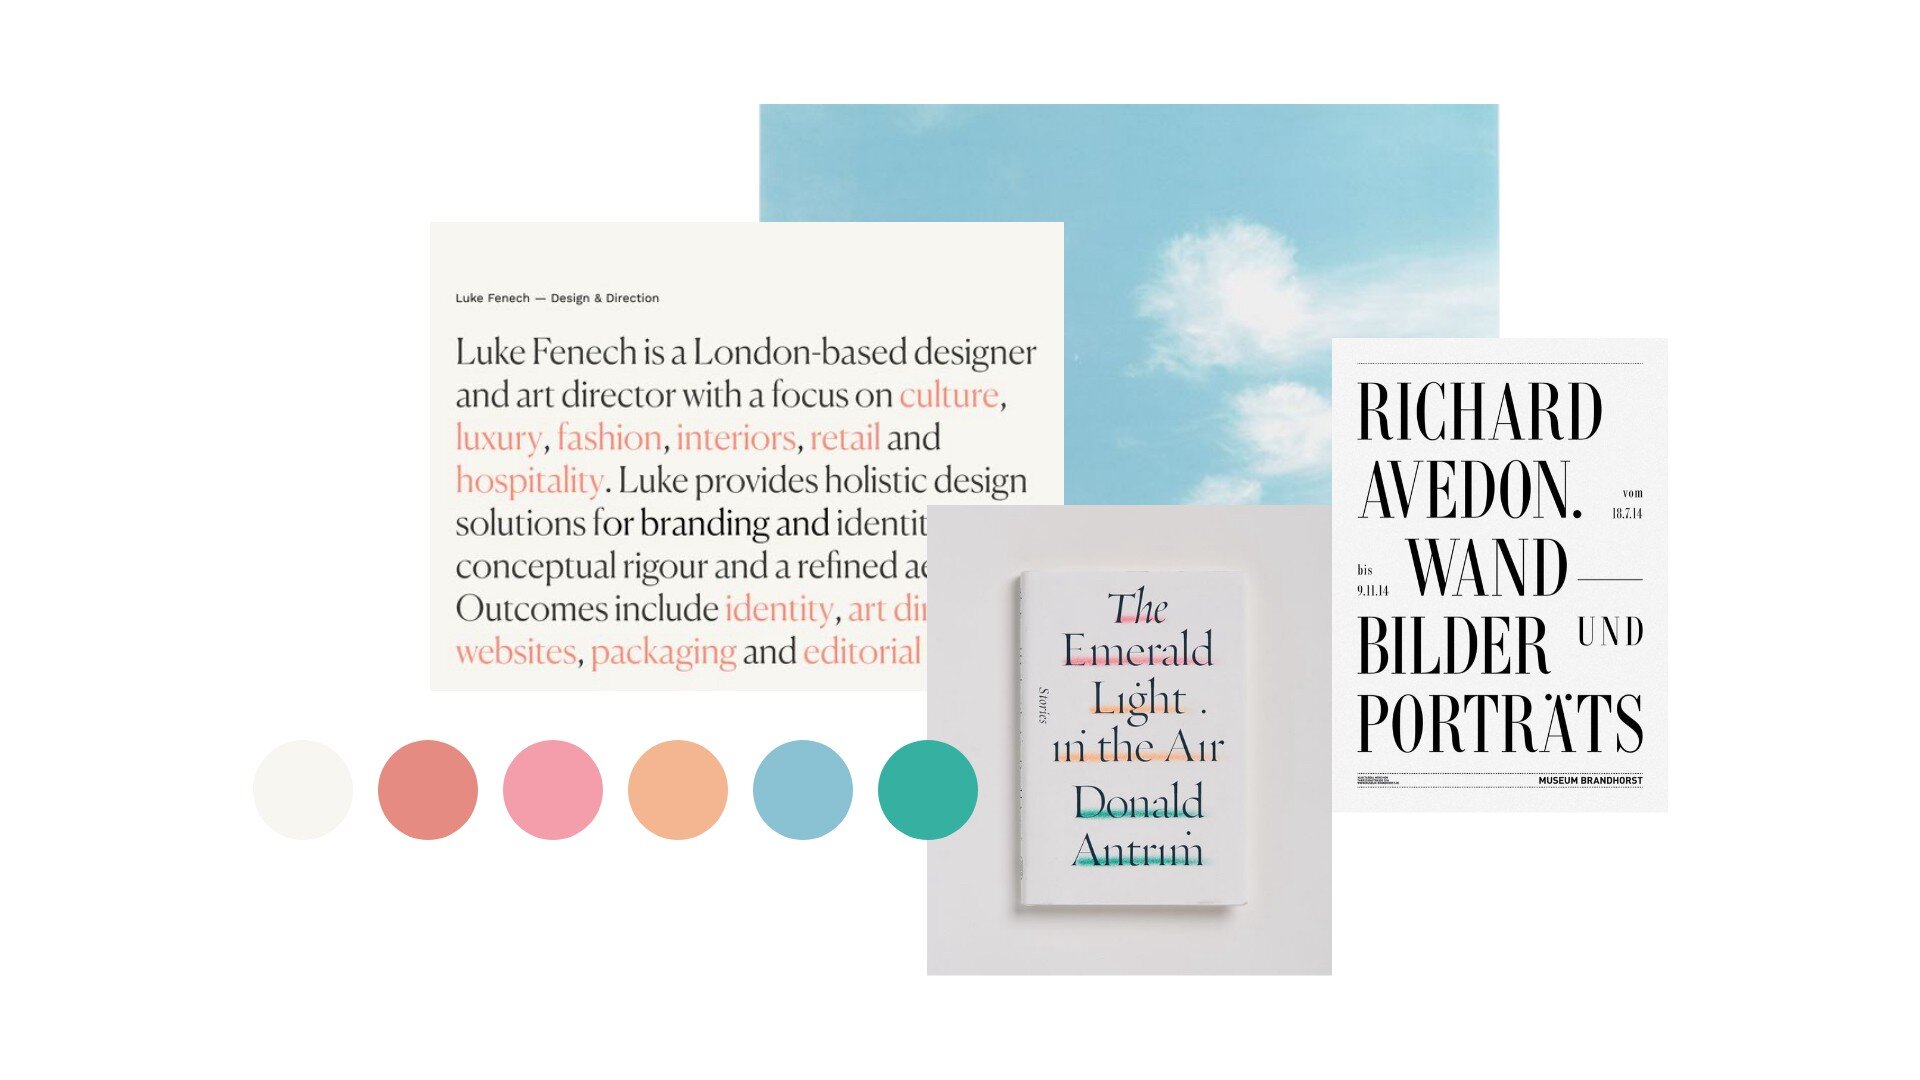
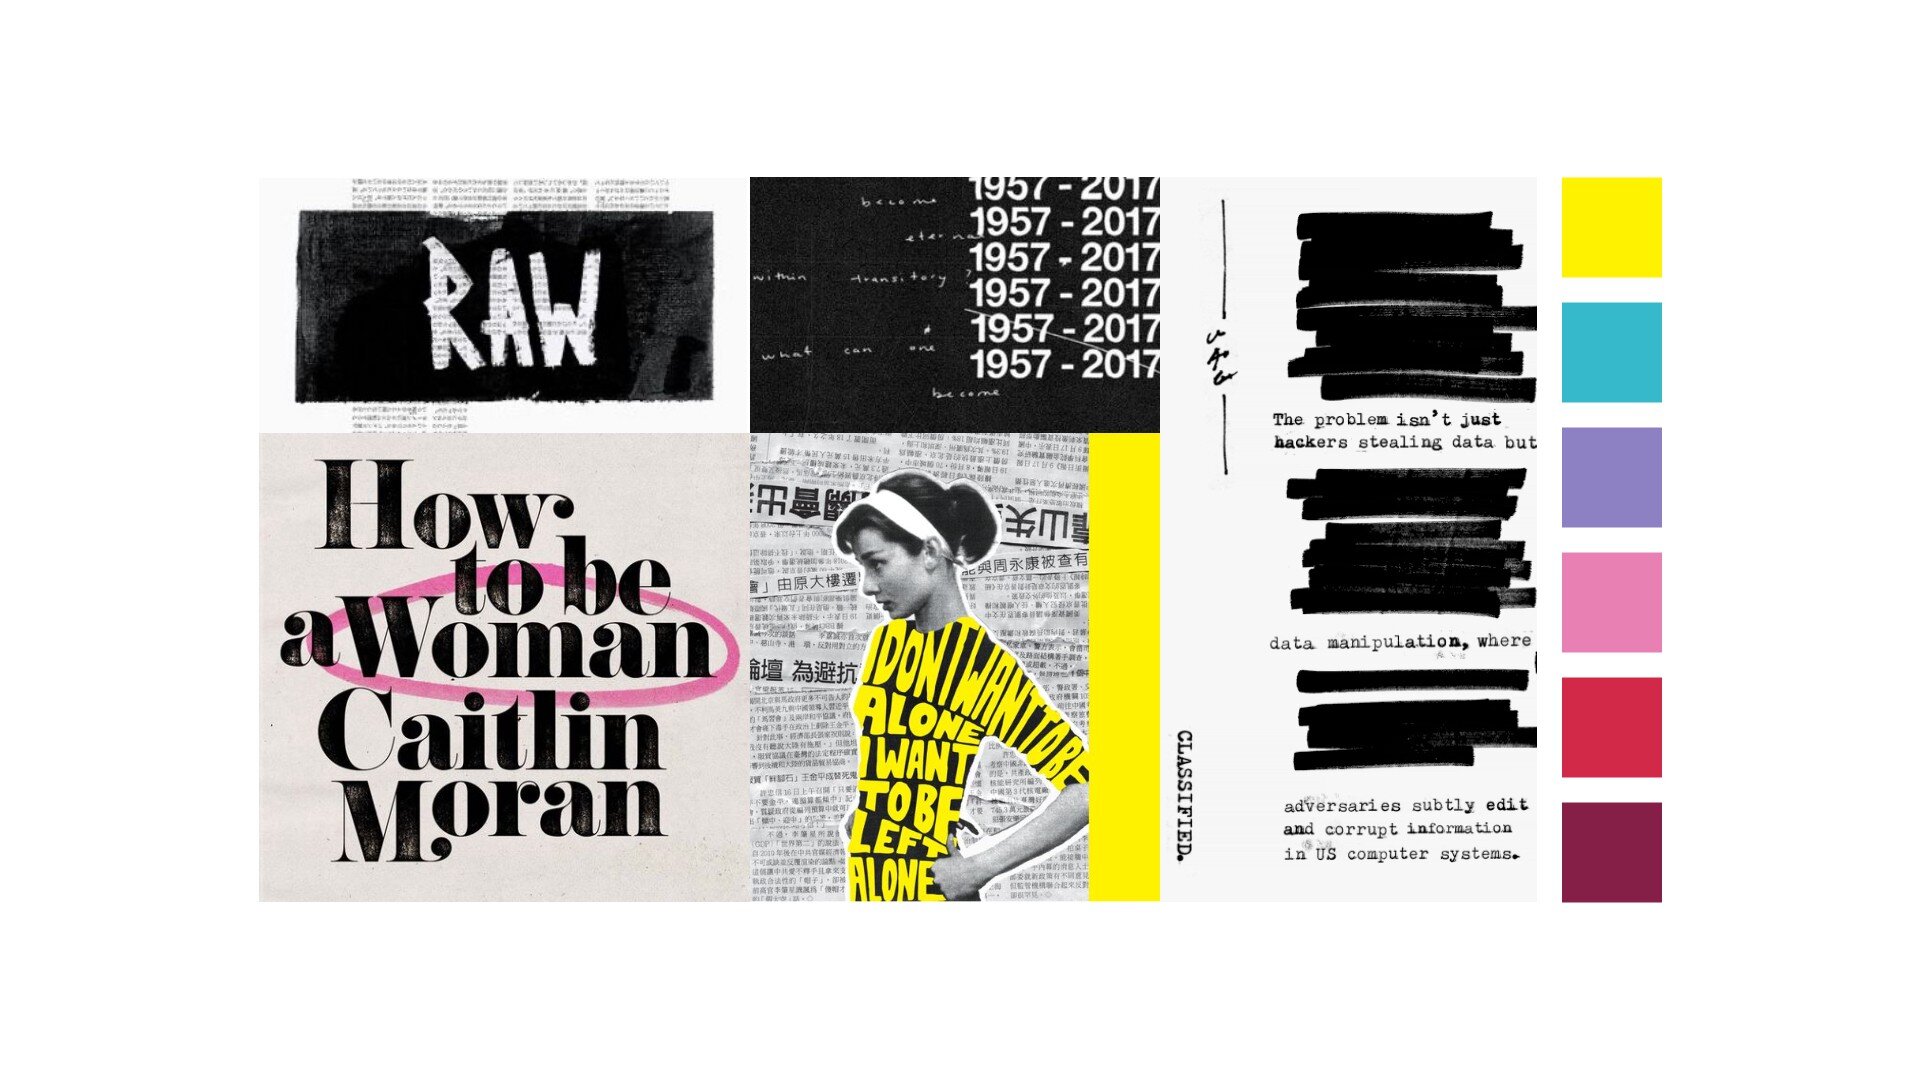
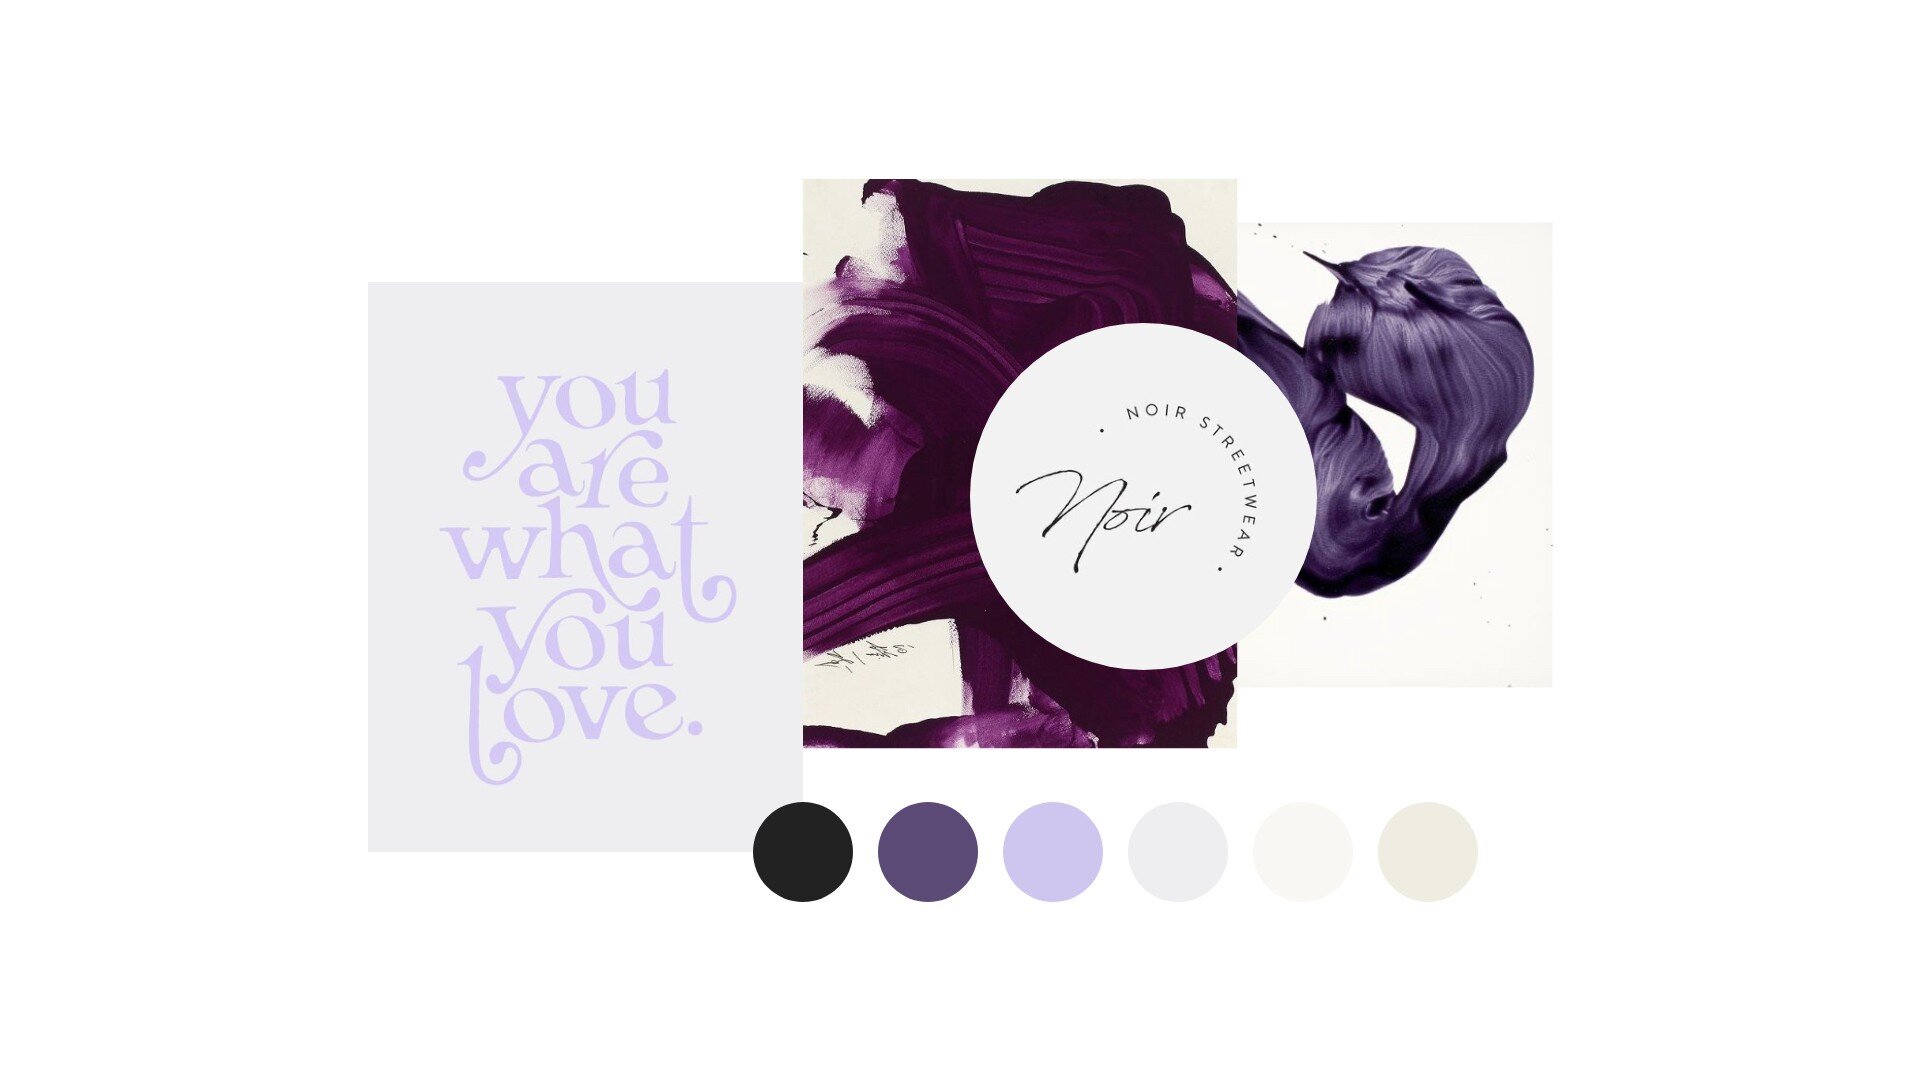
Explore color palettes
I also choose a few colors from the images to create a color palette to go along with the mood. You don’t have to use all these colors on your site but you may be inspired to use a few.
For the redesign of my website, I created 6 moodboards. Notice how each offers a completely different mood. It’s important to consider all options rather than narrowing down on one.


3. Sketch and create low-fidelity wireframes
We’re more than halfway through the process and still haven’t designed anything yet. Nailing these beginning steps when you create your website ensures a smooth design process.
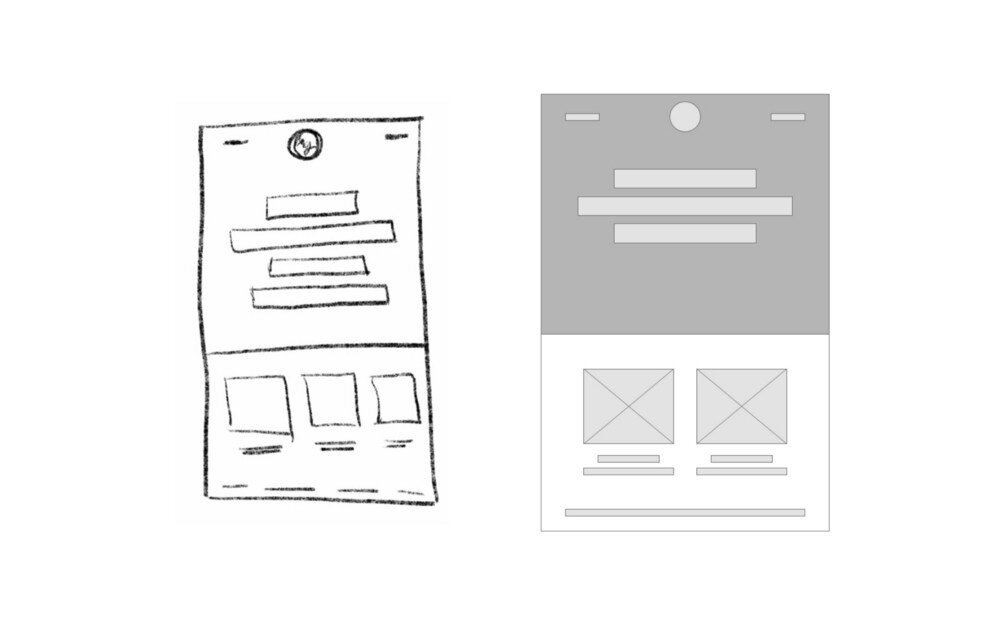
Start mapping out the layout of your site with wireframes, starting with the homepage. I suggest starting with either pen and paper or digital sketching on an iPad.
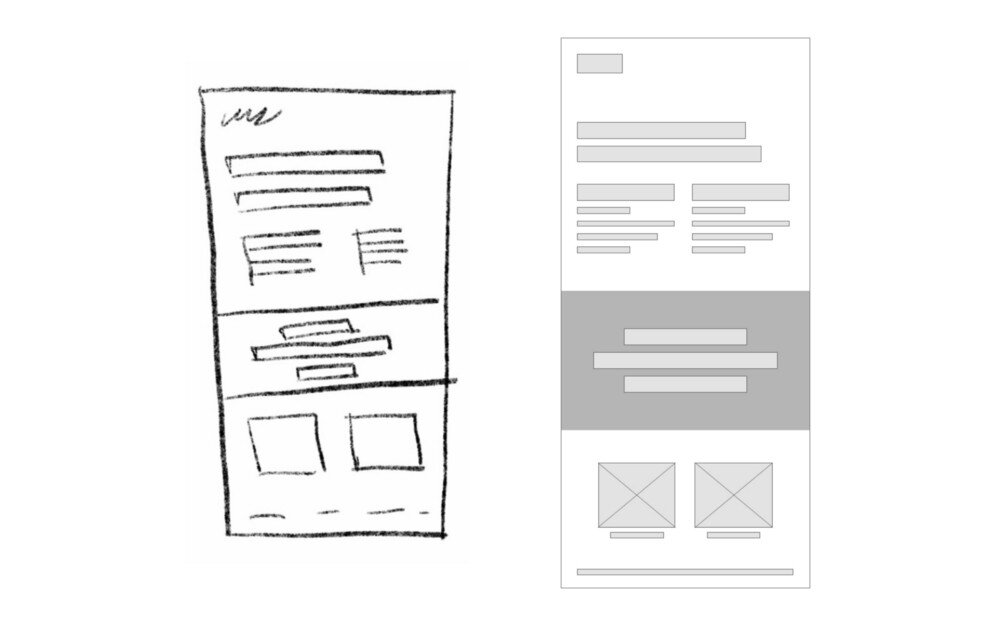
I use Procreate on and iPad Pro to sketch out as many different layout options for the homepage. Once I’ve exhausted all options, I move on to creating low-fidelity wireframes in (you guessed it) Adobe XD.
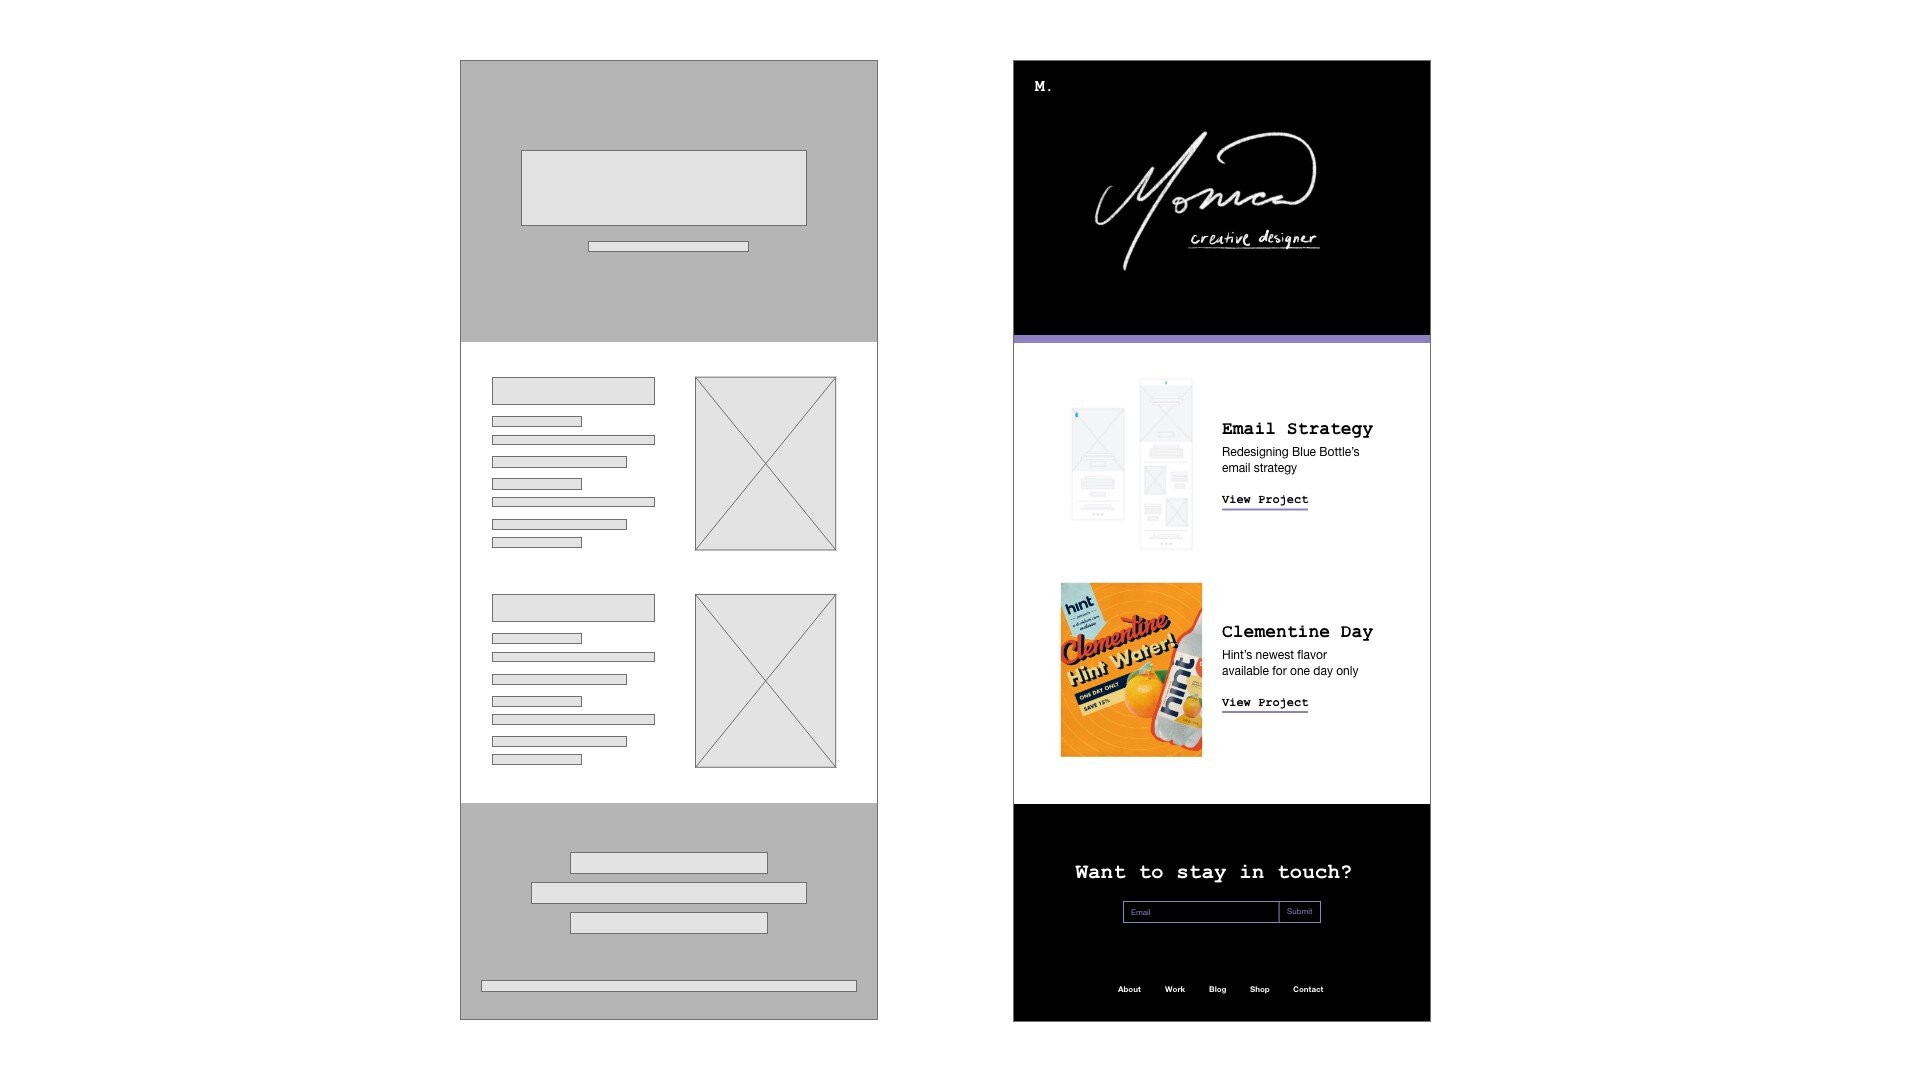
For color backgrounds, I use a dark gray. A lighter gray with an X across is a photo. Long rectangular boxes are type ranging from headline to body copy.
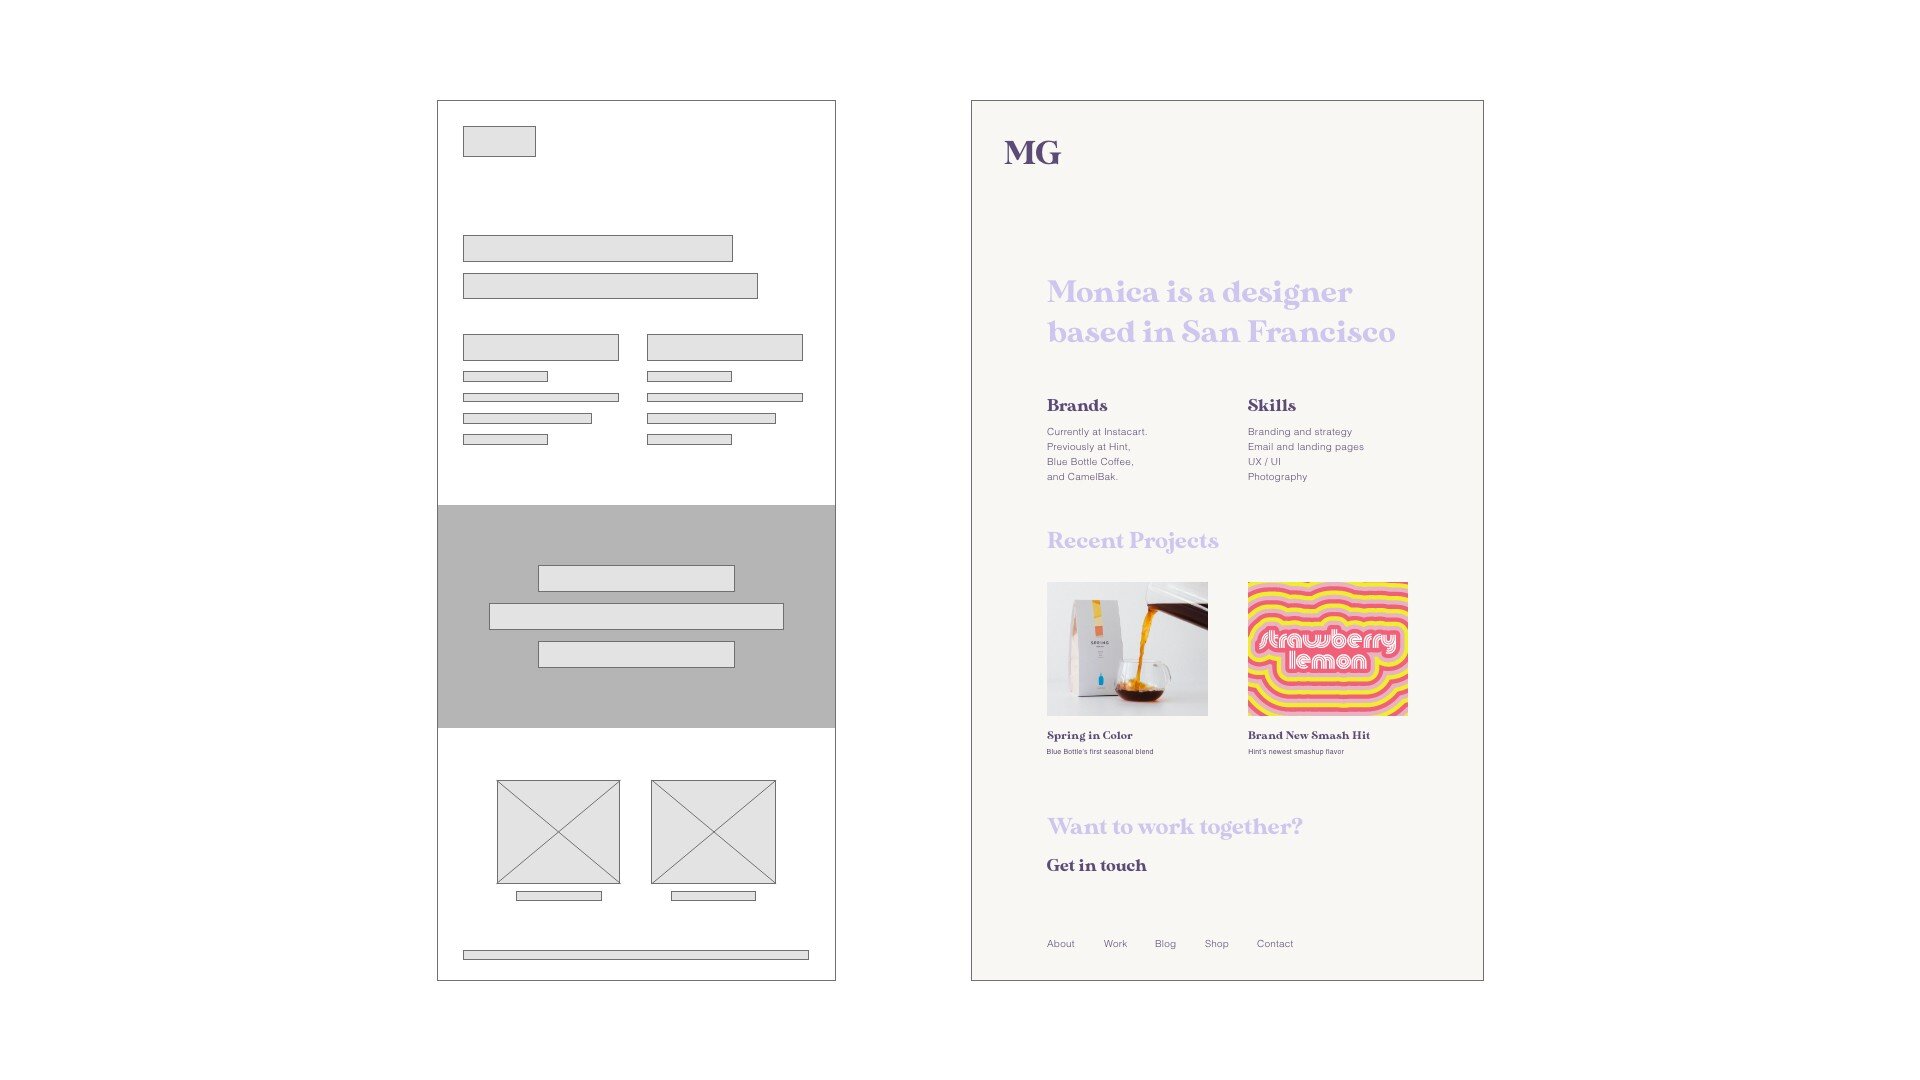
Here’s how the sketches compare with their tightened low-fidelity versions.
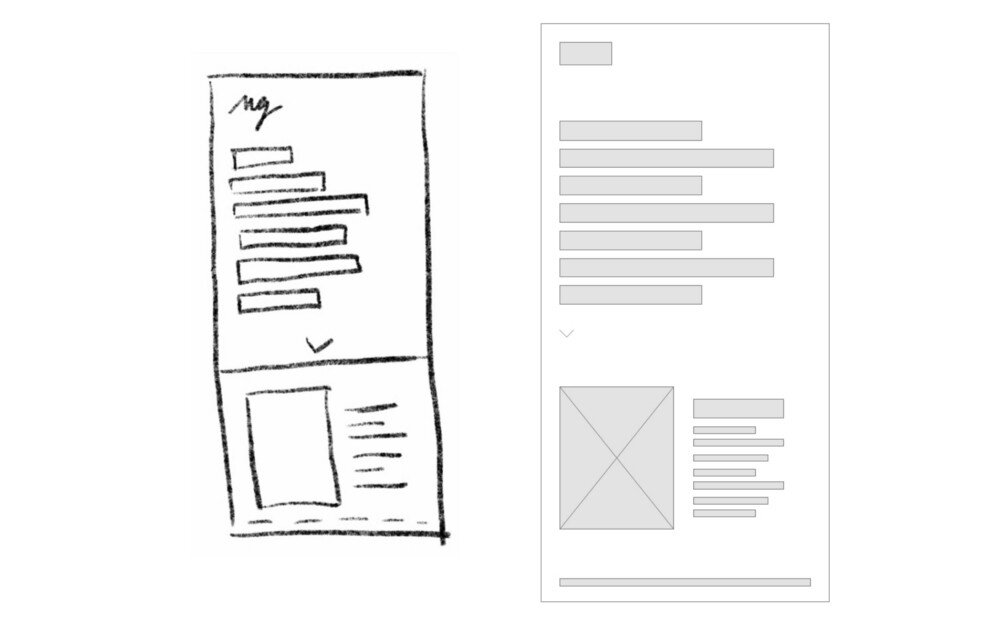

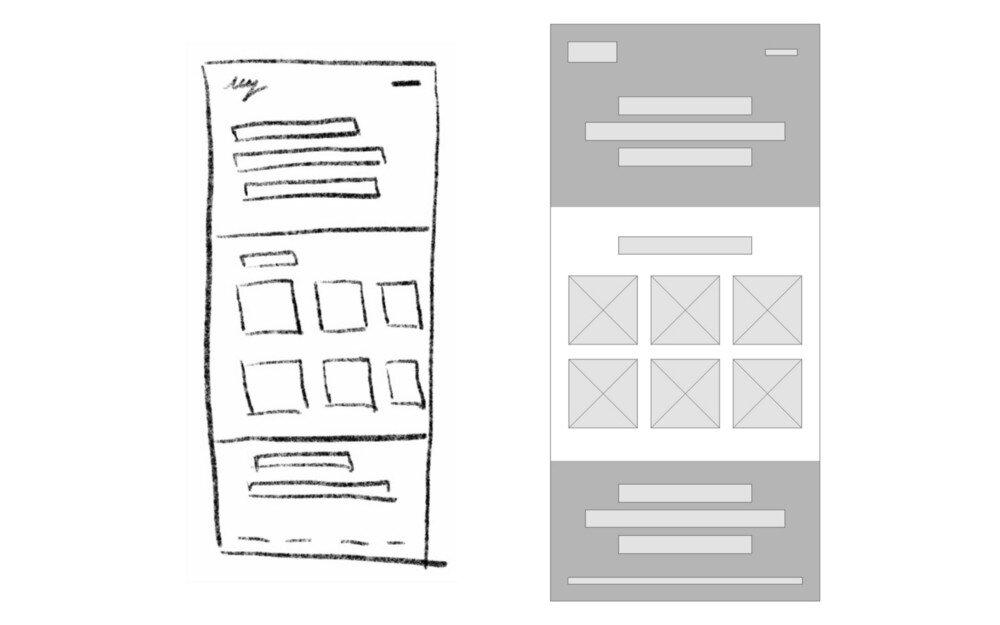
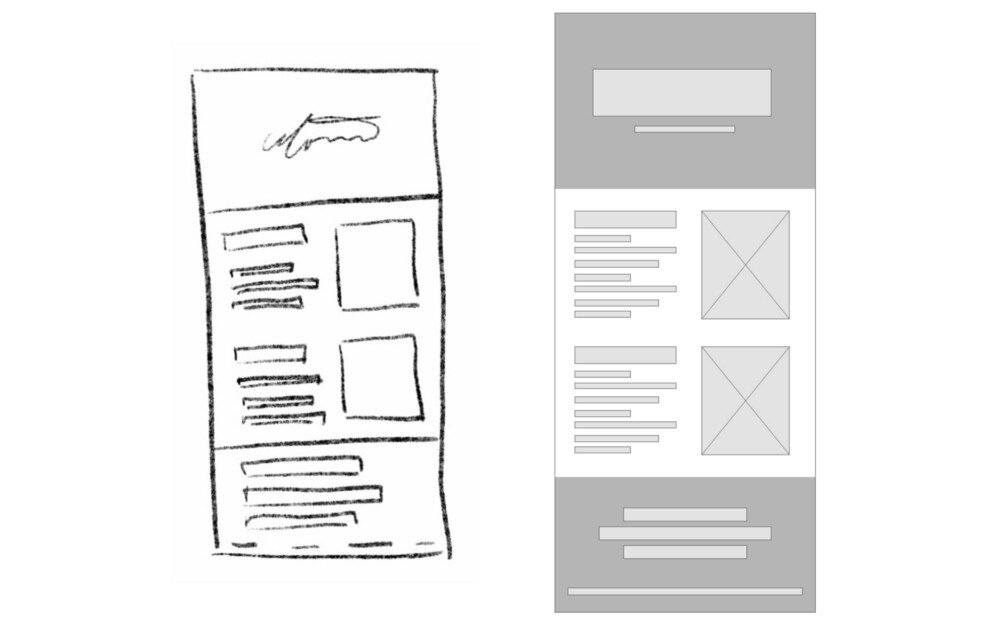
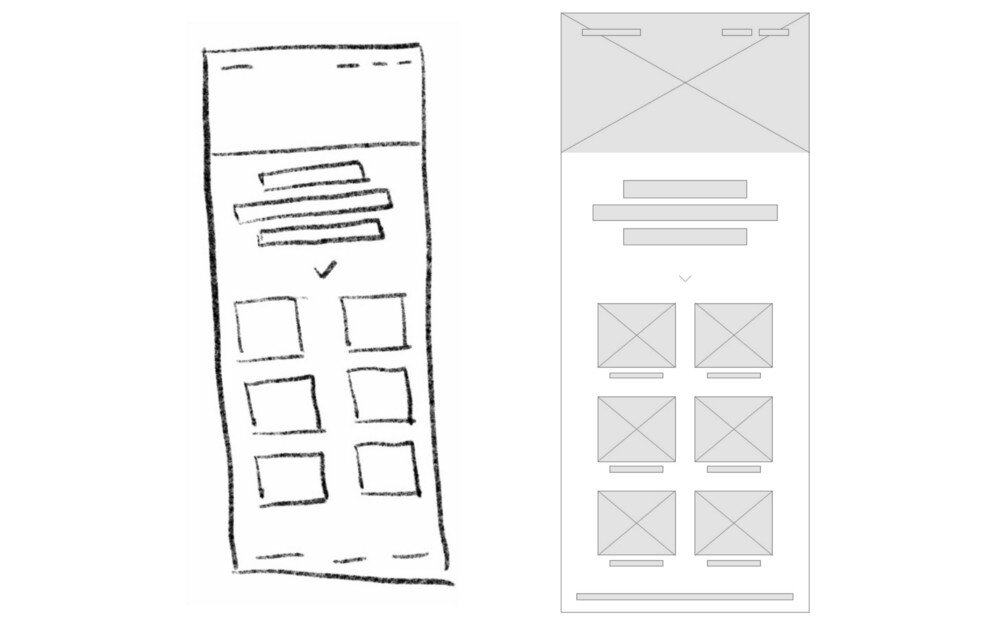
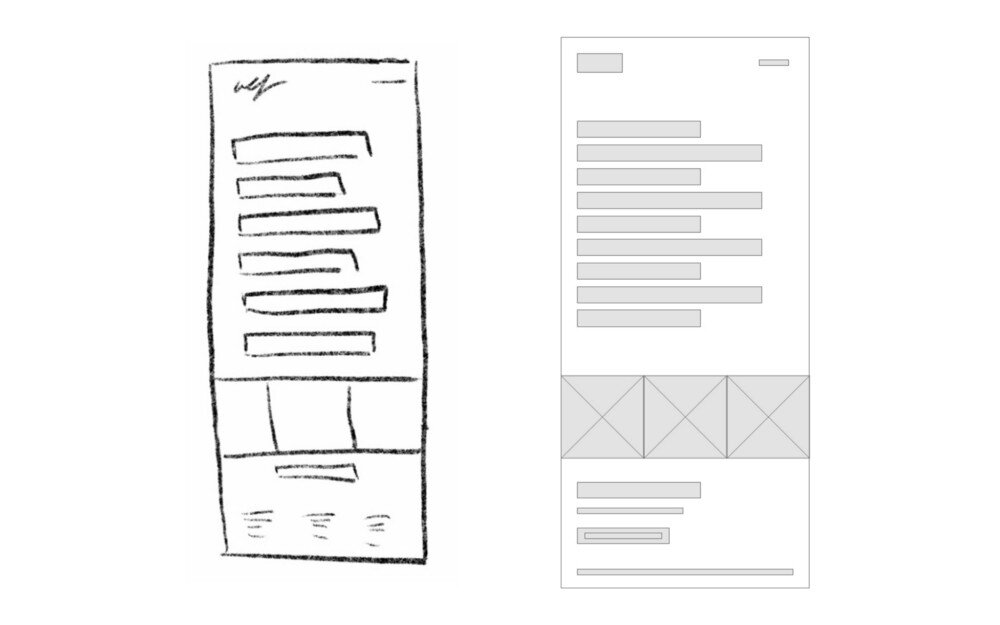
Line up all wireframes next to each other and analyze each option. We’ll use these to help us design in the next step.

Wireframes
4. Use wireframes as a guide to design the UI
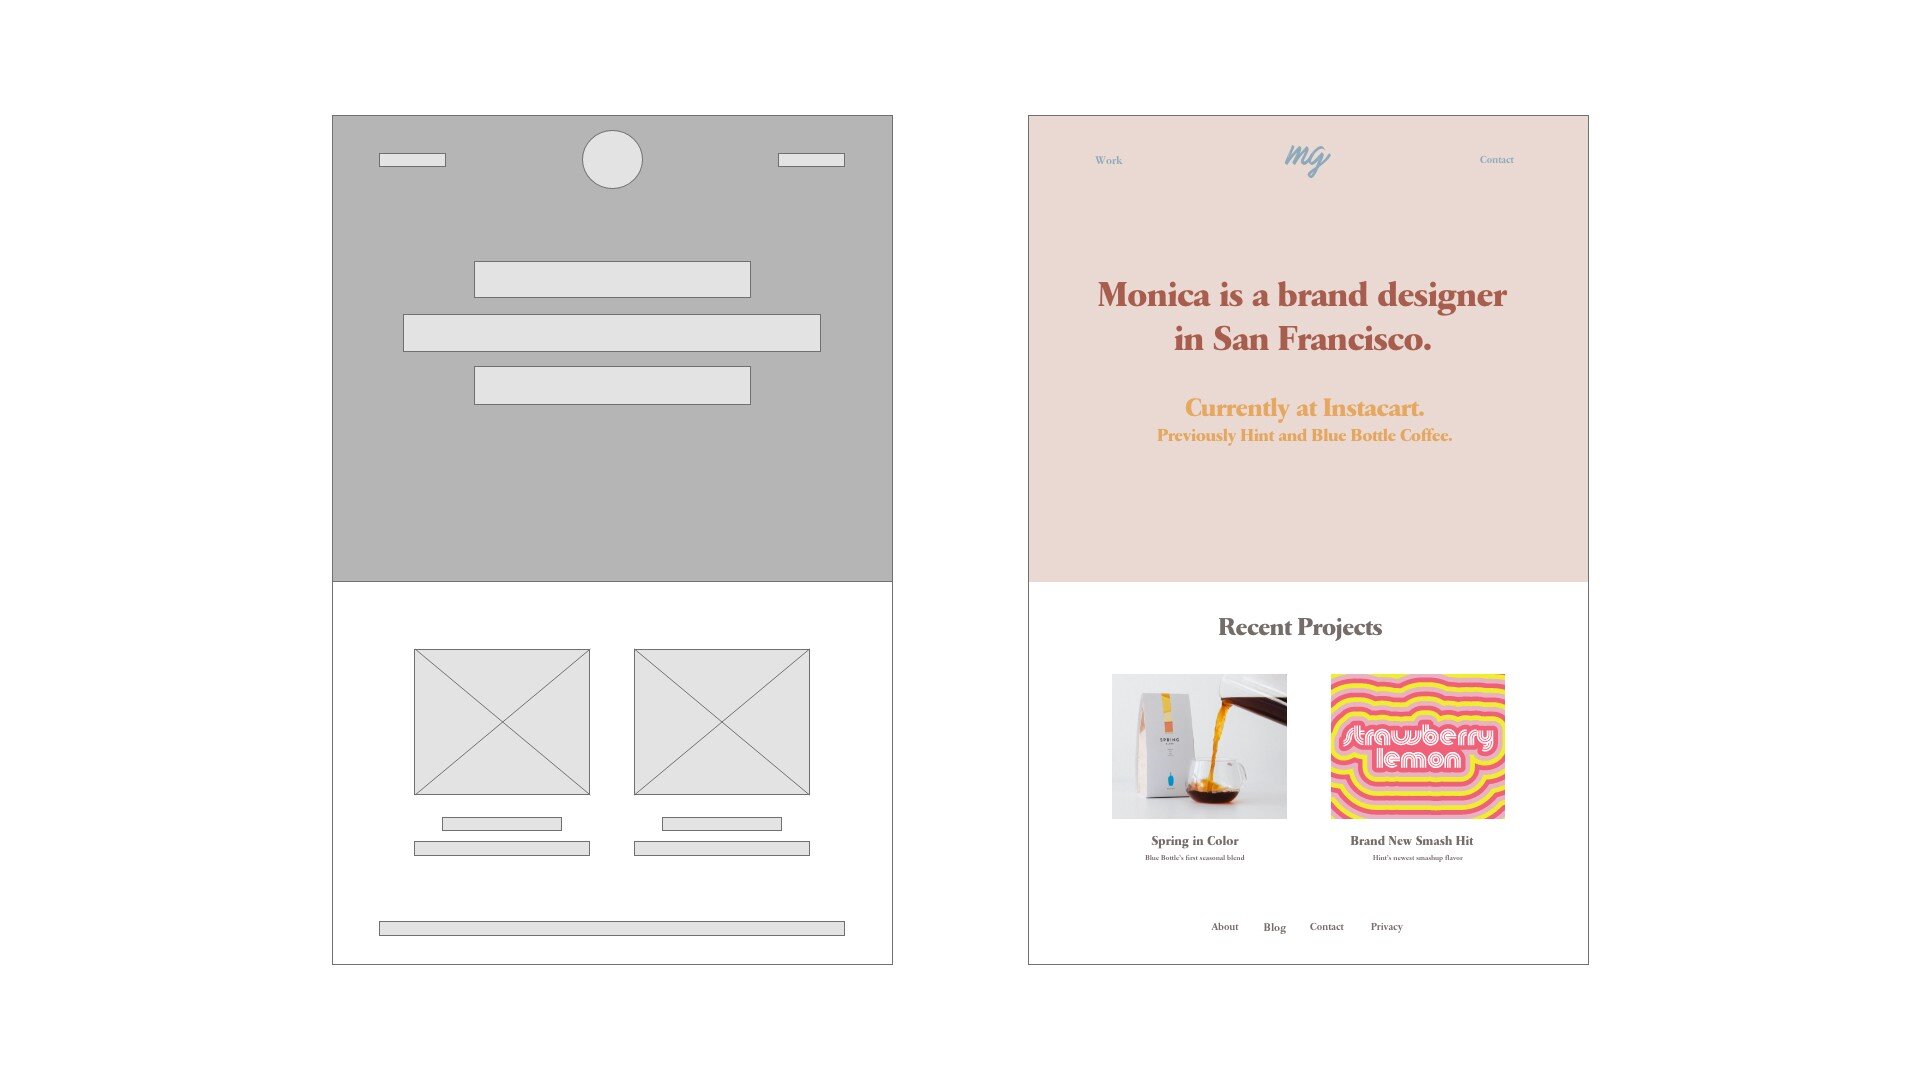
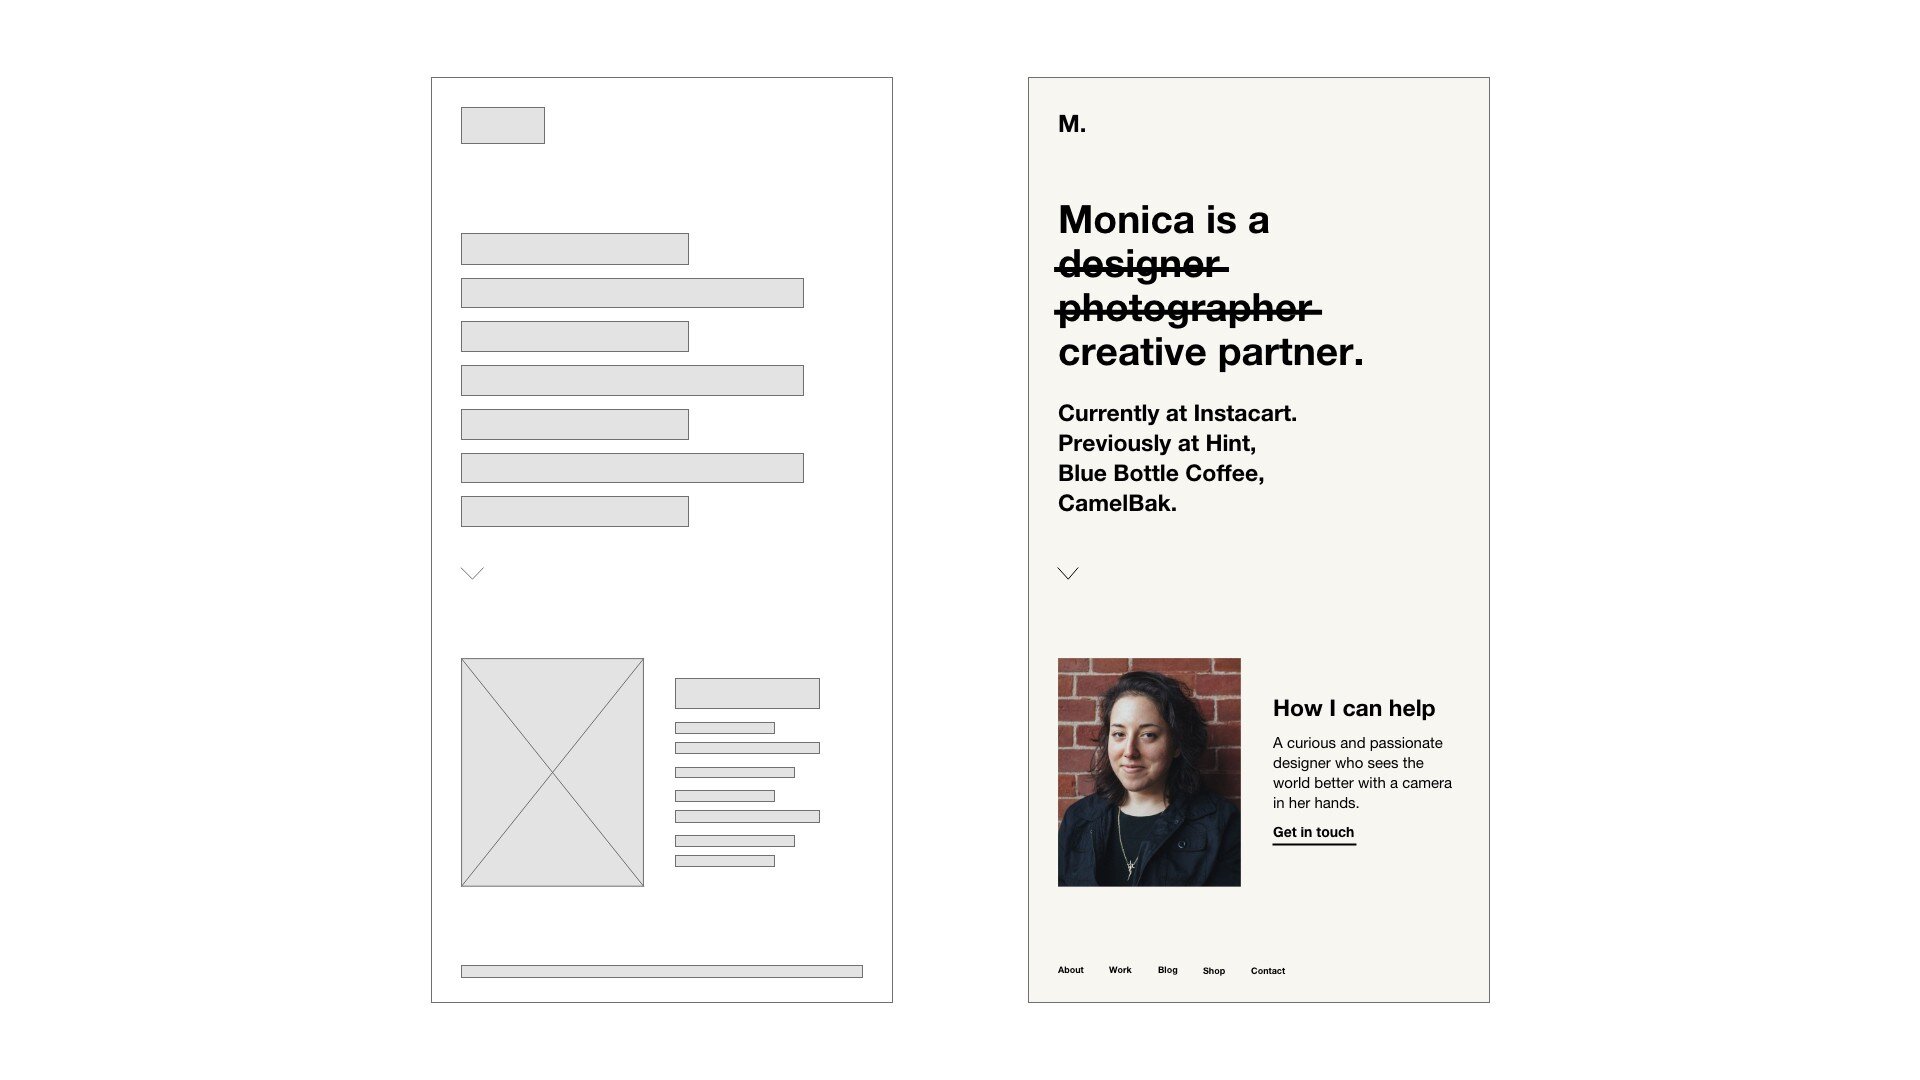
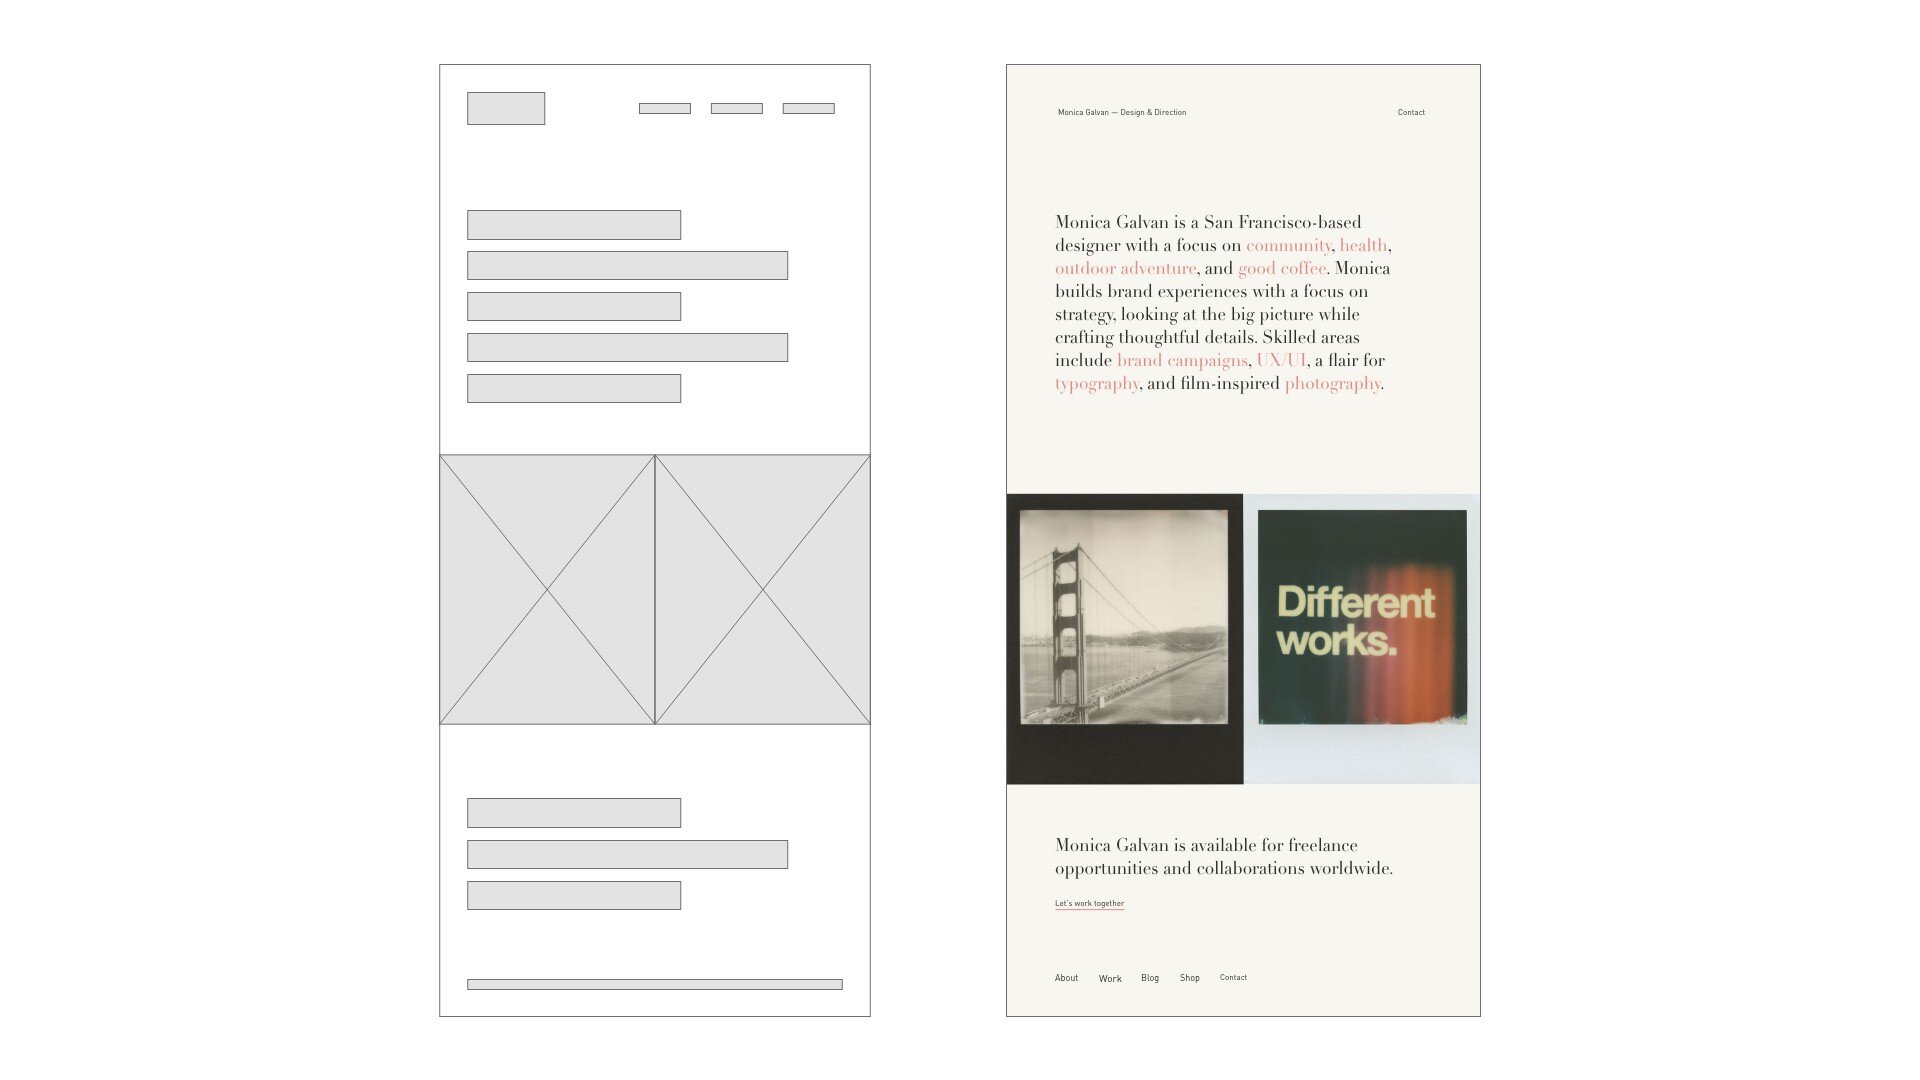
Now it’s time to start designing. Take each wireframe and begin to add color and photos to bring the design to life. You may be inspired to create several design options but create at least one design for each wireframe.
Here are some of the wireframes I transformed into a landing page design. Notice how some elements may change. You don’t have to follow the wireframe exactly, use it more as a guideline, and refine as you go.

5. Build the final design
This step will depend on how you develop your site. Maybe you’re creating a completely custom website and handing off to a developer. Or maybe you’re using a platform and modifying a theme.
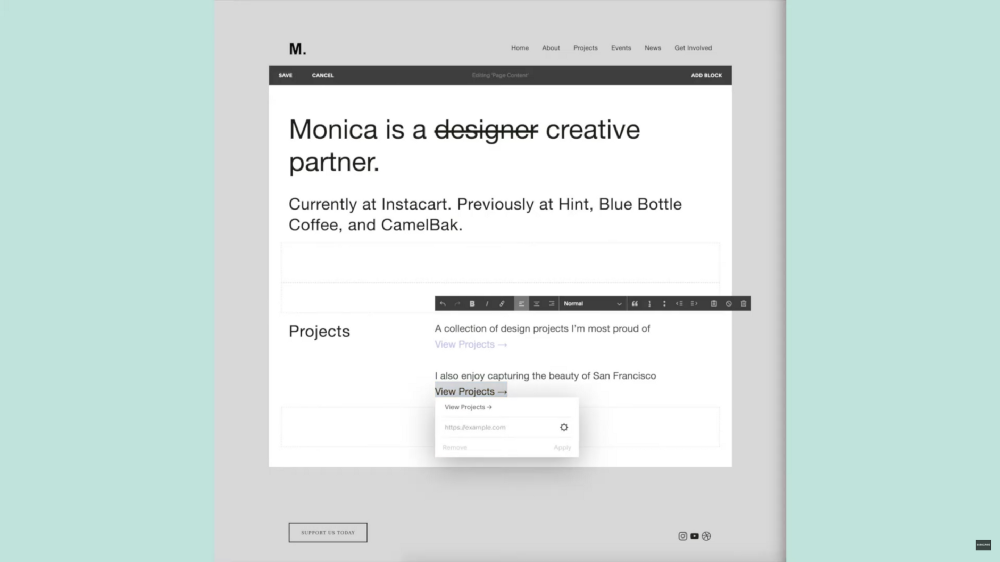
I already hosted my website with Squarespace so I used my design mockup as a guide to modify the theme.
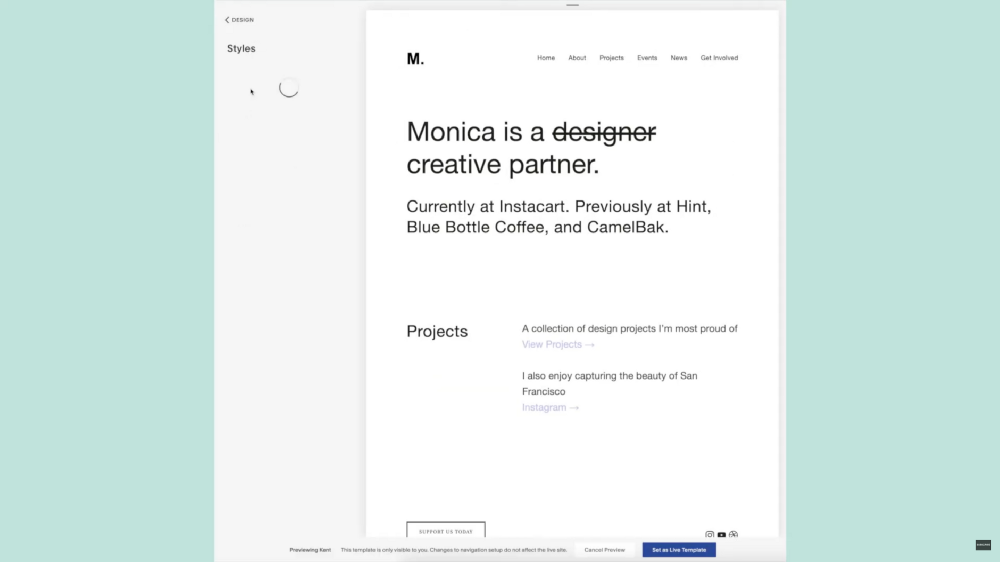
Again, you’ll notice how your design will adapt. I decided to stick with a traditional white background instead of the cream option in my mockup as I realized it would clash too much on my case study pages.
After testing the design on mobile and desktop, I realized it was important to change the size relationship and boldness of the typography in the logo and headlines for a better user experience.

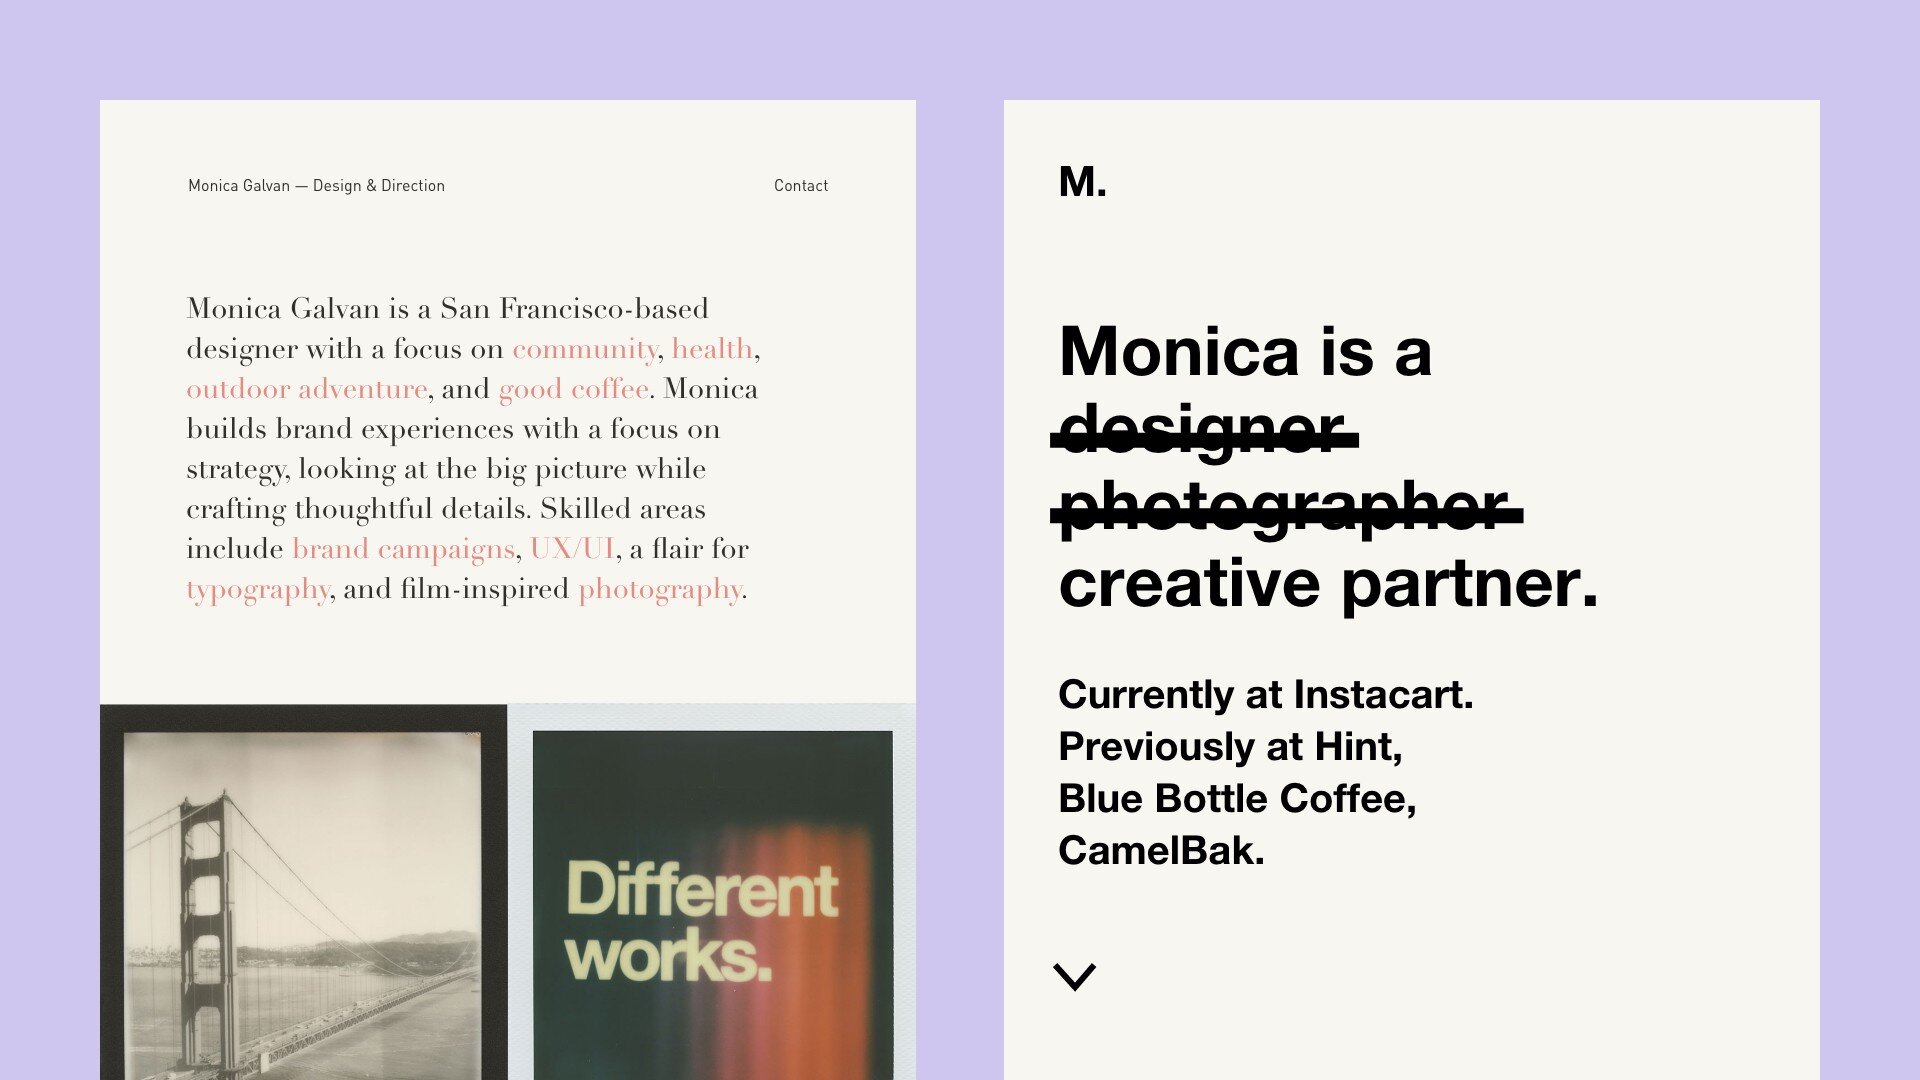
Final homepage design for monicagalvan.co
Your portfolio is a work in progress
Your portfolio is never finished. There will always be something to update or a new project to add.
It can be overwhelming to redesign your portfolio website but these 5 steps will help push you in the right direction.
Watch the design process step-by-step
Sometimes it’s easier to observe the design process first-hand. I walk you through the entire process in less than 5 minutes in this video.